|
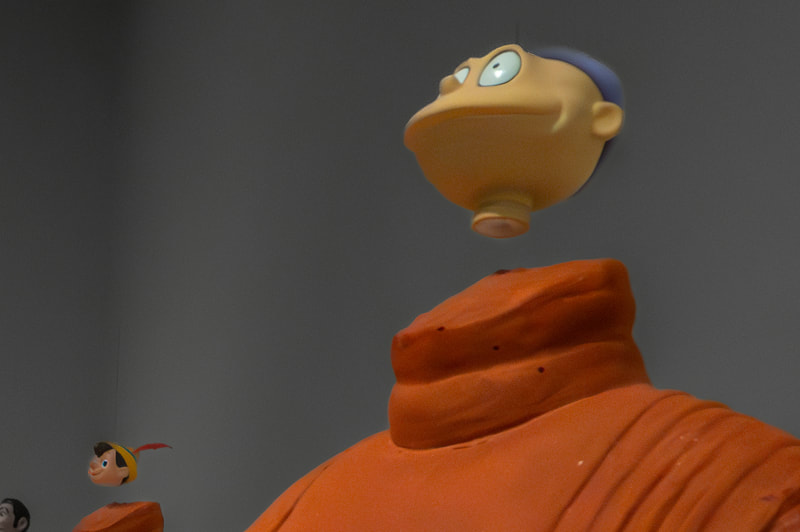
I will admit it, I have been wrong about using Auto ISO. If you attended one of my DSLR Basic Photography classes, I preached that you should always control the ISO setting and taught my ISO Escalator. I am now a convert to using Auto ISO and replacing the ISO Escalator, goodbye old friend. For those who don’t know what the ISO Escalator was, it was a method for determining and selecting the proper ISO in low-light situations. However, one of the principles remains, setting the camera in Shutter Priority (“Tv” or “S” on the mode dial). Shutter Priority locks in your preset shutter speed, which can prevent blurred or unsharp images, instead the camera adjusts the aperture automatically, to ensure a proper (or close to correct) exposure. After changing the mode dial, select a shutter speed that will stop the action or allow you to hand-hold your camera. Usually, a 1/60th shutter speed will stop most action and shake, however, a higher value may be necessary for faster action, or shakiness from too much coffee. In my ISO escalator, you would take test pictures at different ISO settings, until the photo exposure was to your liking. However, with advances in ISO technology and Denoise tools (ie Lightroom has a great AI Denoise tool), there is less need to worry about higher ISO settings.
Auto ISO can be set using the same menu for changing ISO settings. With your shutter speed set, you can just enjoy photography, focusing on your composition, knowing that your exposure is being handled by your camera. As the light changes, the ISO will automatically adjust, increase, or decrease the value.
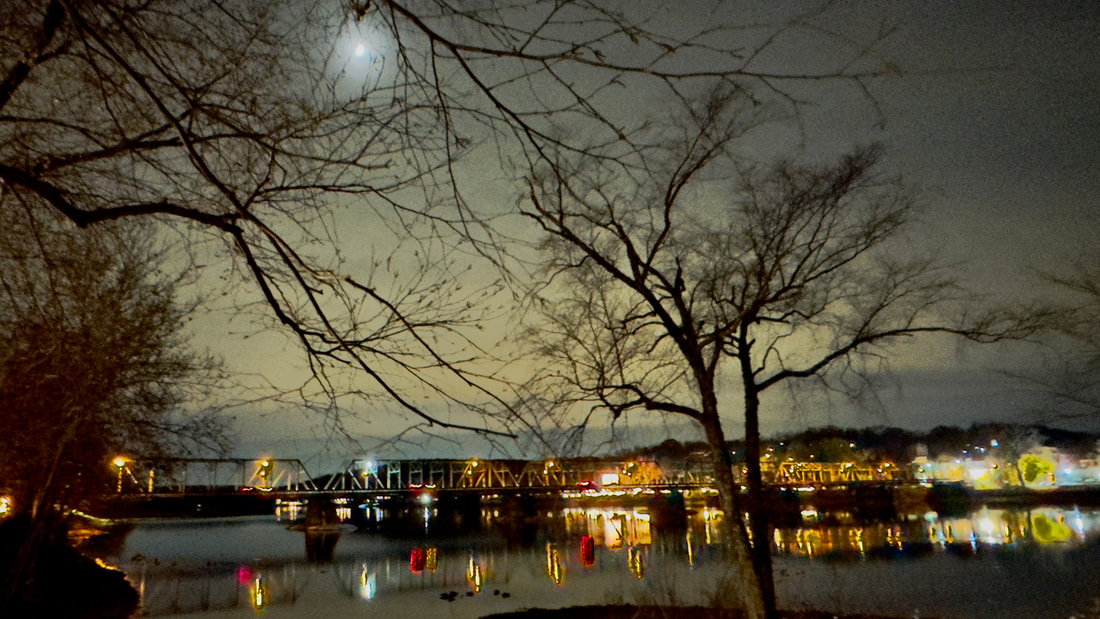
Suggestion: Always take a brief look at your photo image on the backscreen to ensure the exposure is correct. Use Auto ISO in low-light situations such as museums, restaurants, and indoor plays and sports. In addition, use Auto ISO when shooting street photography, where the light can change from bright sun to dark shade when turning a street corner. Once again, set your camera to Shutter Priority and select an appropriate shutter speed, for instance, 1/125. Manual Mode and Auto ISO: If you want to control both your shutter speed and aperture, you can use Auto-ISO to maintain balance in the “exposure triangle”. For instance, you might select 1/125 shutter speed and want a mid-range (f8) aperture for your street photography. Noise: We mentioned “noise”, a subtle to great degradation in image quality often due to increasing in ISO, caused by many technical factors, too complex to discuss here. In B/W film photography, we often embraced this “grainy” look, and will sometimes increase this in digital b/w photography. However, often we want smooth clean images, especially for large prints, so AI comes to our aid. Lightroom has a feature called AI Denoise, and Topax Photo AI is another option for removing noise in your images. In addition, newer cameras are better able to handle high ISO. Last note, we have noted that with Shutter and Aperture priority, the exposure will be close to correct. The optimal exposure may be a “stop” or “partial stop” difference because the light meter in your camera usually takes an average for the given light situation. A “stop” is one shutter speed or aperture in either direction. In conclusion, you can retire the ISO Escalator and embrace Auto-ISO to enhance your photography. Hey, we are still learning even after ten years of teaching. An article that can further explain Auto-ISO, How to Use the Auto ISO Setting in the Best Possible Way | Fstoppers My classes and Adventure Workshops mentioned in the article included:
0 Comments
Taking Fewer yet Better Pictures By Stephen Harris (River Town Creative/Photography by Stephen Harris) It seems we are always in a hurry, with so much on our minds, even when walking through a serene park or an inspiring museum. Add to this the power and convenience of the mobile phone or digital camera, where we can aim to take a photo of anything that comes along, click and go. Then we get home and review the day's images, and discard many; and in some cases, we may not have remembered taking this shot of something we can’t even recall seeing. We reflect on the day, and really, did we experience joy, or did we just take pictures? This may seem like an extreme example of our busy lives while in a peaceful venue, but could we step back and consider the walk as the priority, and the photography secondary?
Two recent mindful photography walk photos. Mindful photography is about being fully present and engaged in the act of capturing images. By practicing mindfulness, you can enhance your photography skills while also cultivating a deeper appreciation for the world around you, ultimately taking fewer yet better images.
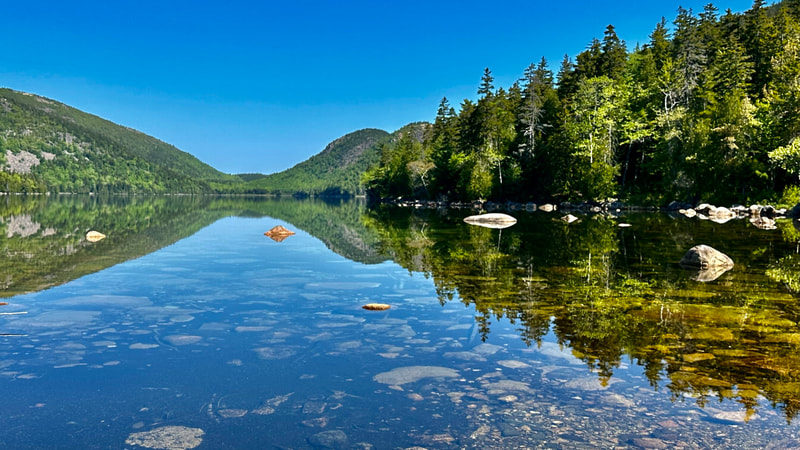
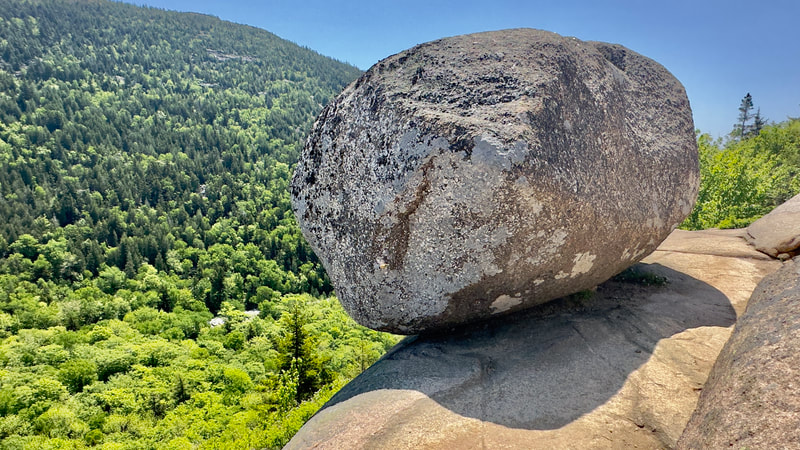
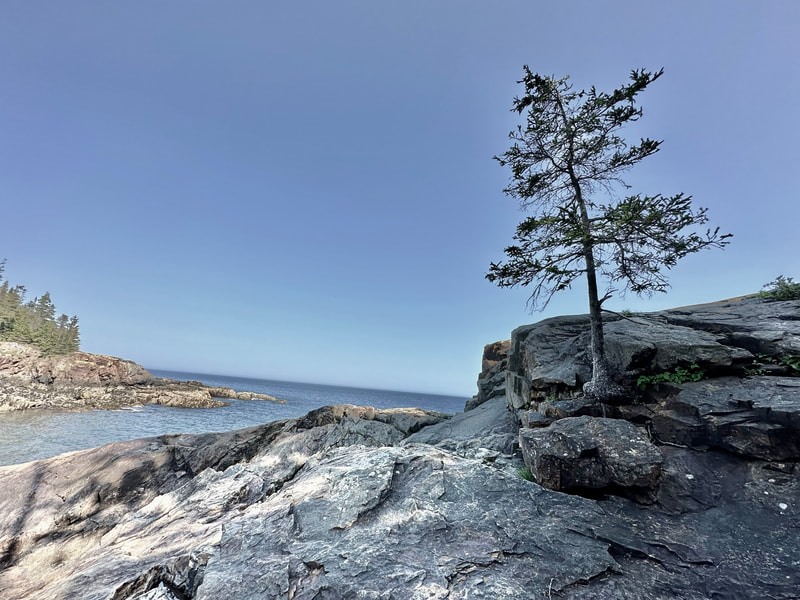
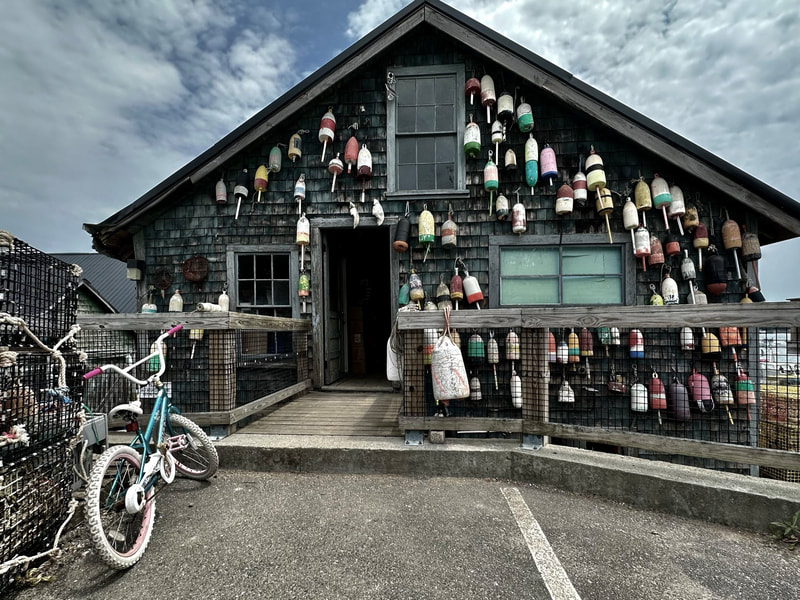
Our adventure workshops are geared towards mindfulness in photography, including Hidden Lambertville and Hidden Frenchtown, among others. Review the current photography classes and adventure workshops- and sign up for our no-spam newsletter. Acadia National Park in Maine offers plenty of hiking trails of various levels, beautiful vistas, and of course, lobster. We visited the park in early June staying at a centrally located Airbnb in the town of Bar Harbor. National Parks are treasures, yet planning your visit in late May or early June is perfect for avoiding the crowds.
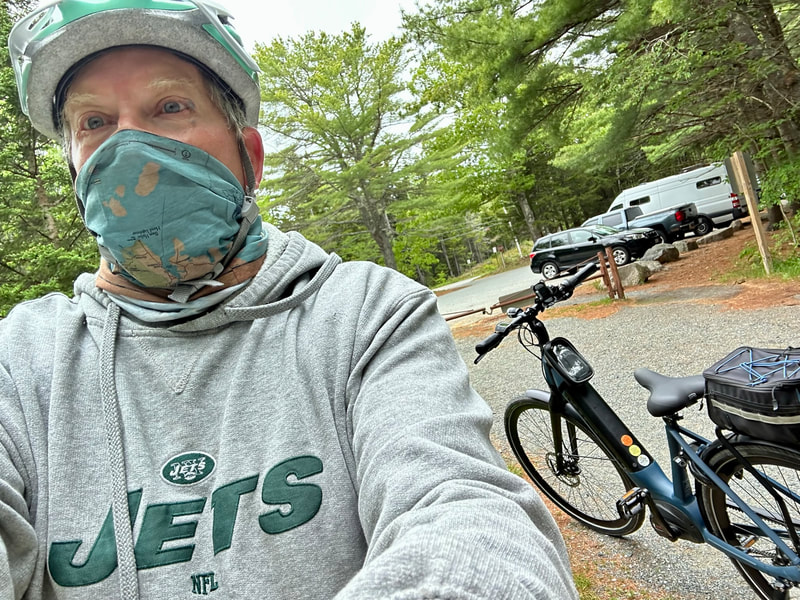
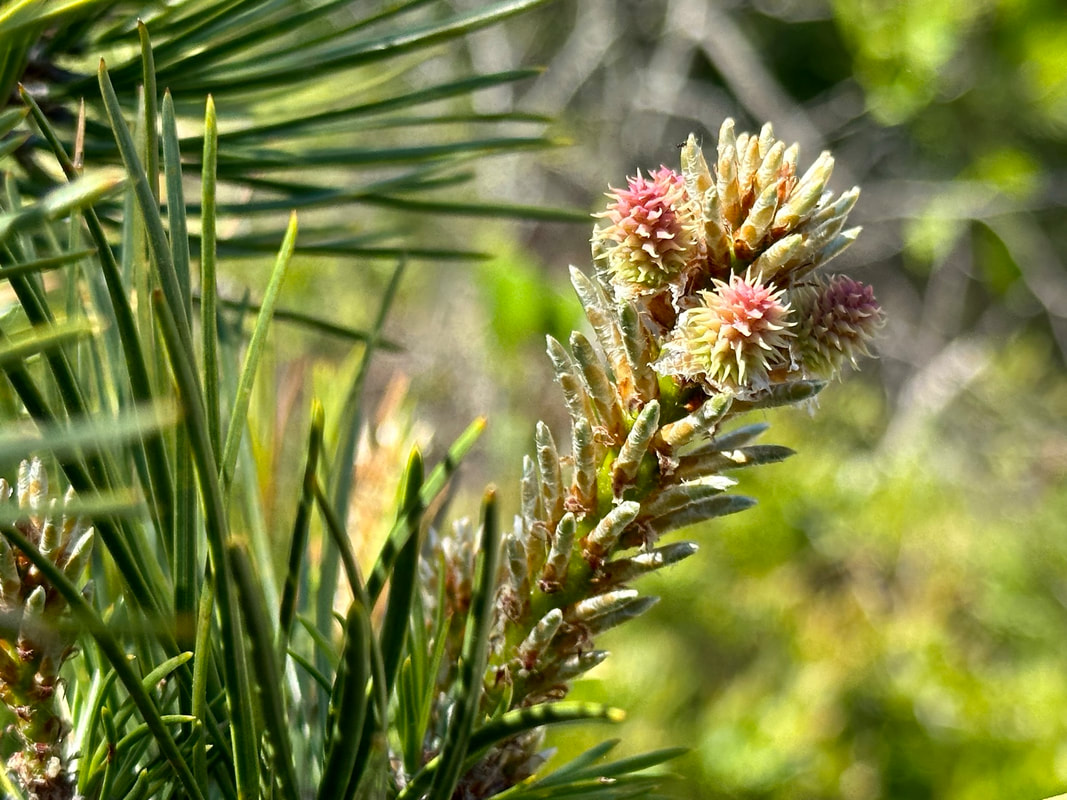
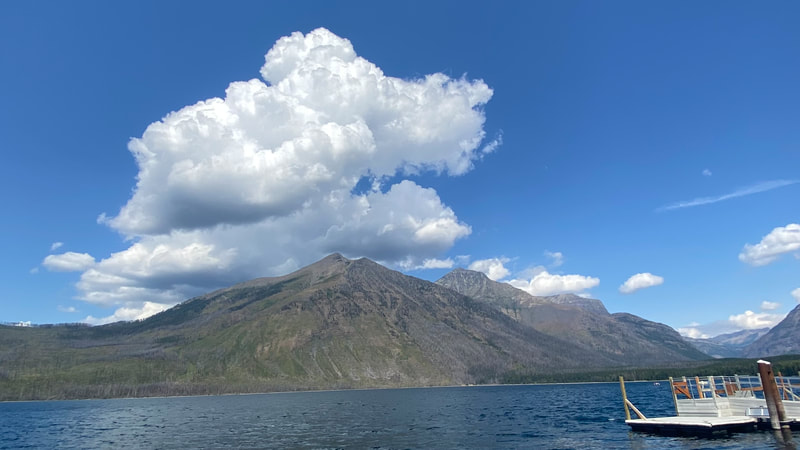
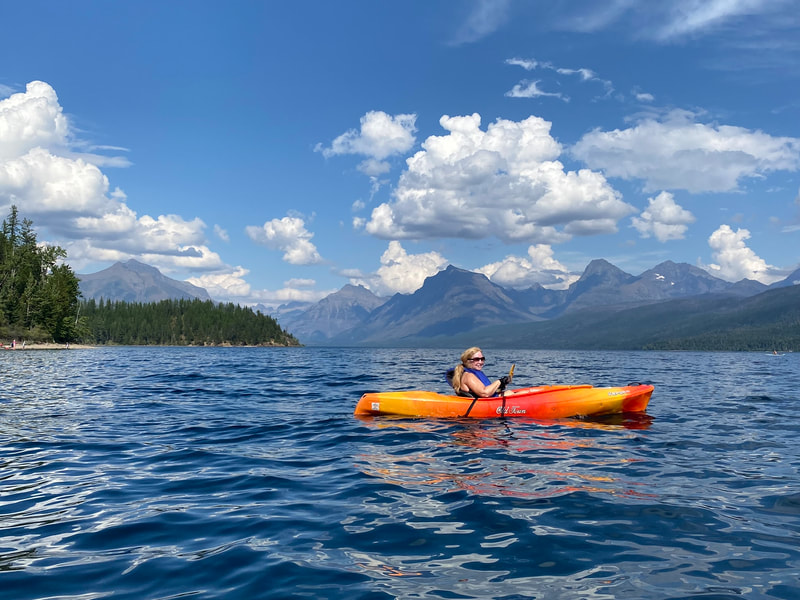
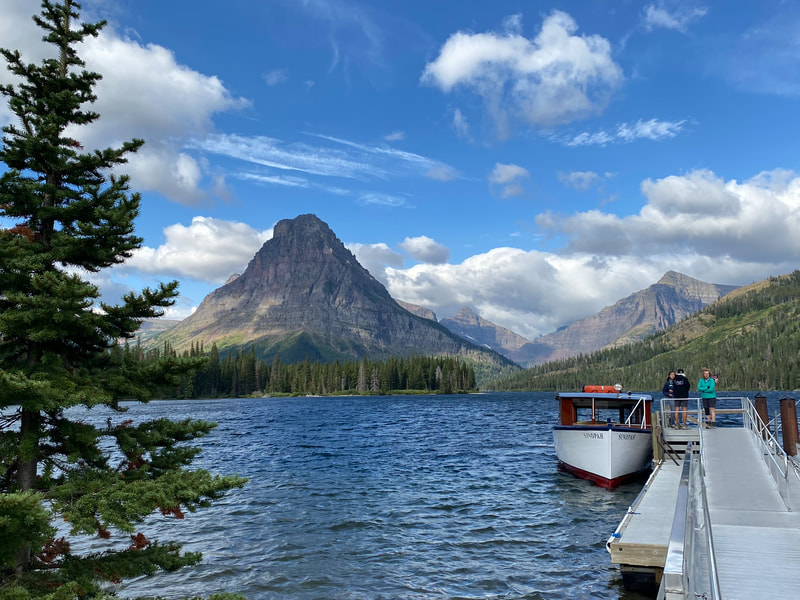
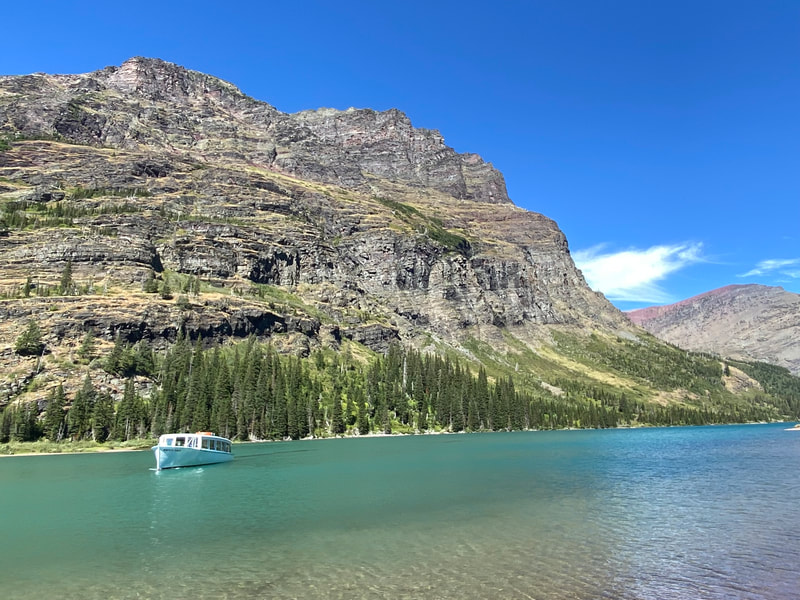
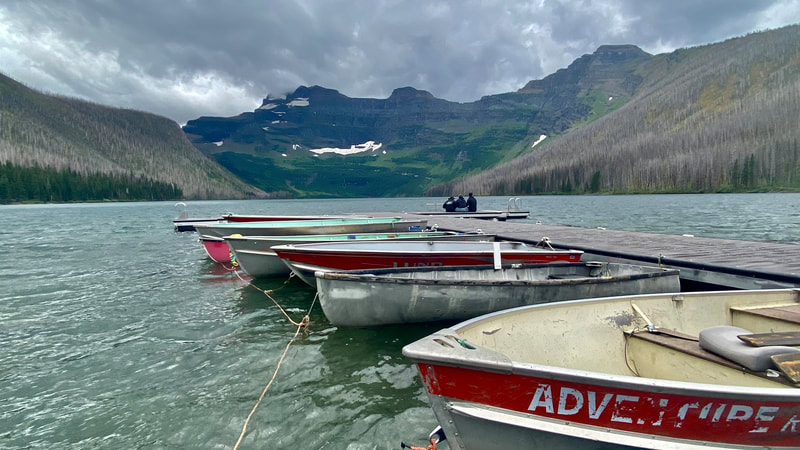
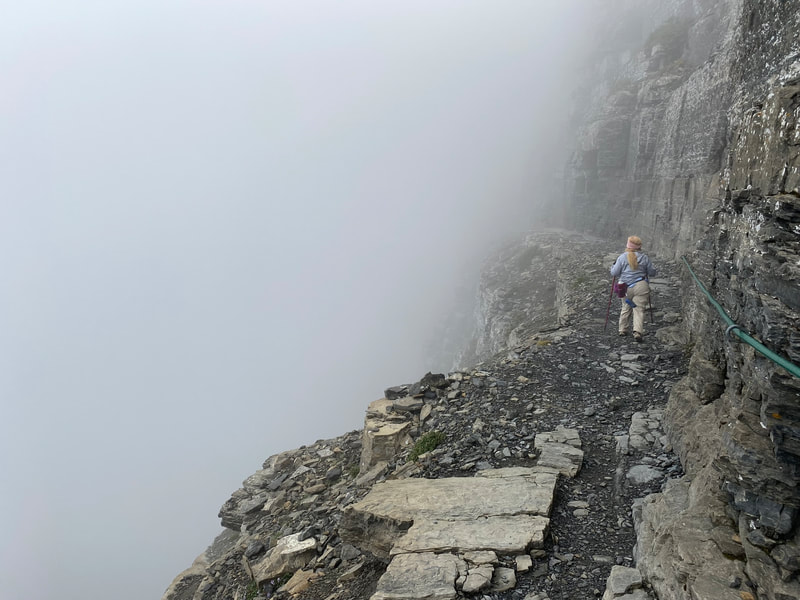
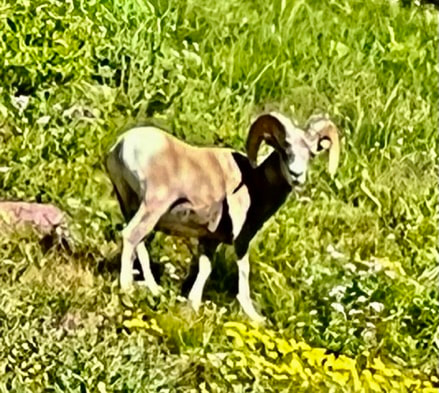
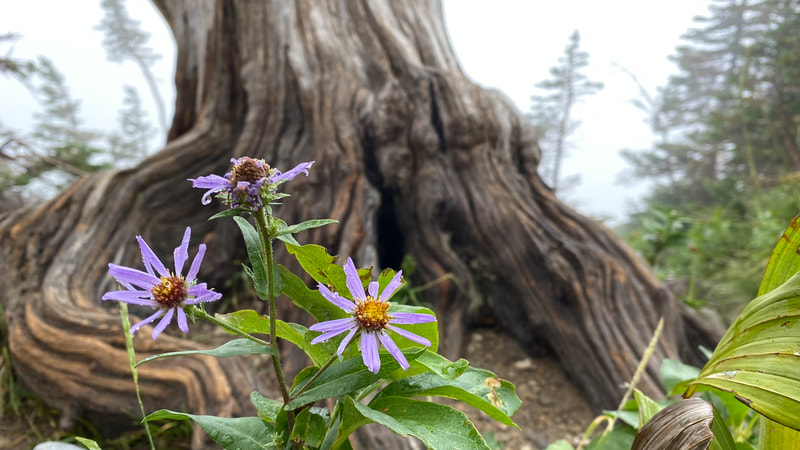
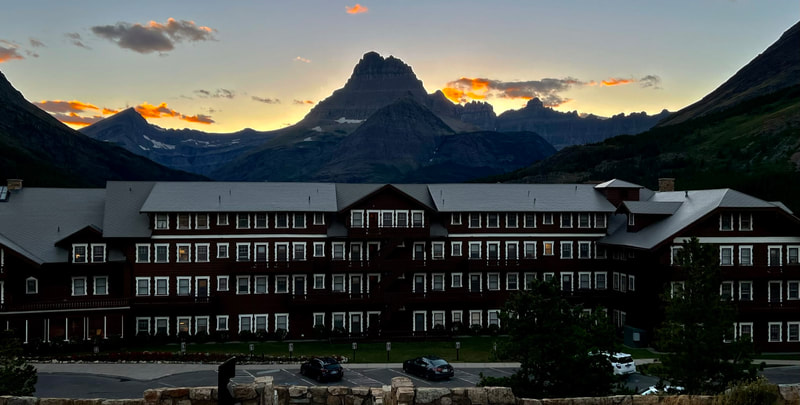
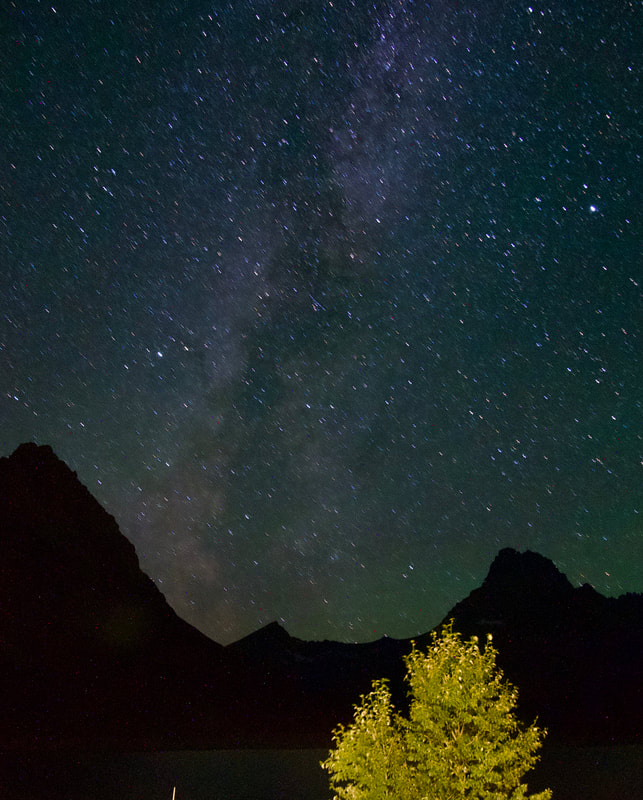
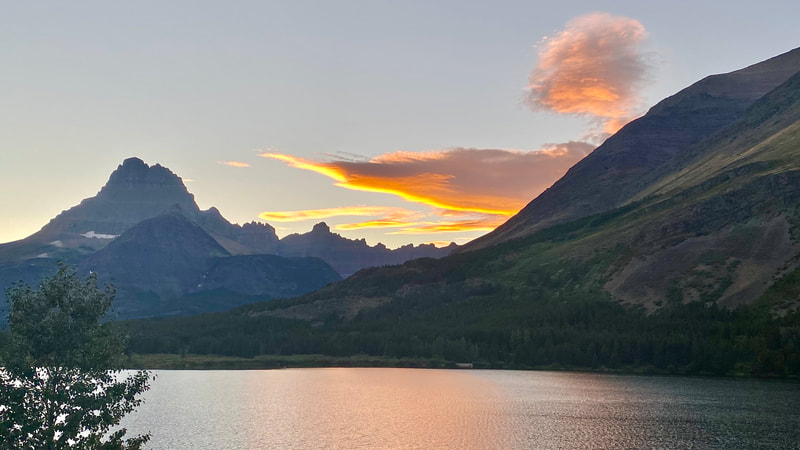
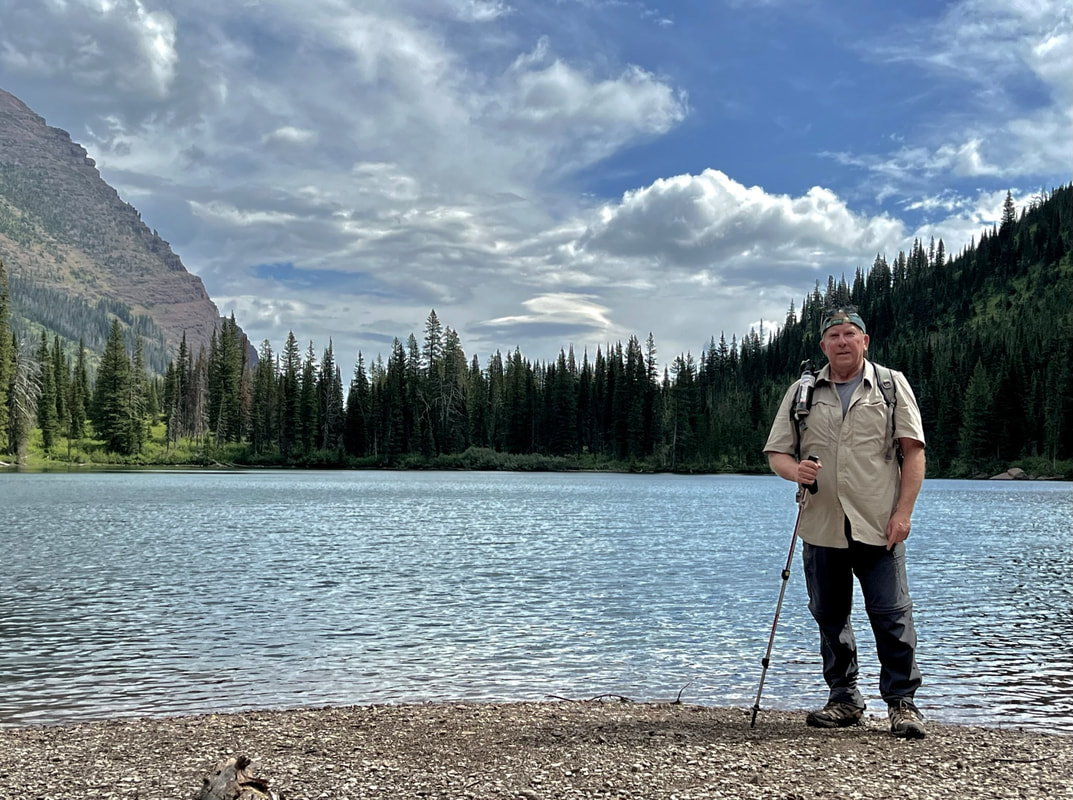
For the hikes, moderate for me and more challenging for the younger people in our group, I carried my iPhone 14 and a small/lightweight Lumix DC-GX9. I used the iPhone more often, which says a lot about the current mobile phone cameras. We highly recommend a drive to the quieter south harbor and visits to the Flying Mountain and Ship Harbor hiking trails and the Thurston Lobster Pound, offering beautiful views of one of the lobster fishing inlets and delicious lobster rolls and blueberry cake. Further, rent e-Bikes and ride the carriage roads, a 40 miles crushed stone trail that threads itself through Arcadia. This was a great way to see the park and the hills are easy to ride on with the e-bike’s turbo mode! Unfortunately, our visit to the highest peak in the park, Cadillac Mountain was on a rainy cold day, yet the 360-degree views were amazing. Arcadia National Park was amazing as was the town of Bar Harbor, a recommended destination. 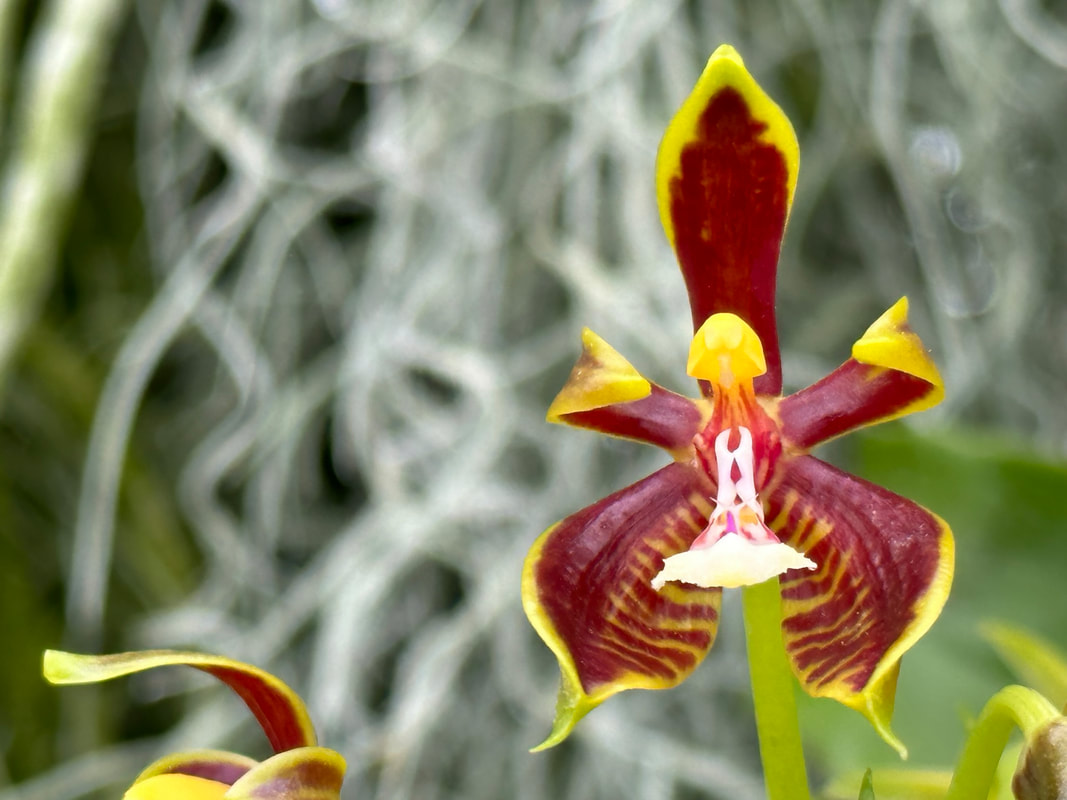 The iPhone 13/14 introduces an enhanced macro photography function that allows users to capture stunning close-up shots of small subjects with incredible detail and clarity. Leveraging advanced camera technology, the macro mode on the iPhone 13/14 camera enables users to explore the miniature world around them and capture intricate details that may not be visible to the naked eye. Dedicated Macro Lens: The iPhone incorporates a specialized macro lens designed specifically for close-up photography. This lens enables users to focus on subjects at an extremely close distance, typically ranging from a few millimeters to a few centimeters away. The dedicated lens ensures optimal clarity and sharpness in macro shots. Autofocus and Focus Stacking: The macro mode on the iPhone camera includes advanced autofocus capabilities to ensure that the subject is sharply focused. With the help of focus stacking technology, the camera captures multiple images at different focus distances and combines them to create a final image with a wider depth of field. This technique ensures that a greater portion of the subject remains in focus, even with the shallow depth of field typically associated with macro photography. Improved Image Processing: The iPhone leverages its powerful image processing capabilities to enhance the quality of macro shots. The camera's computational photography algorithms work in tandem with the dedicated macro lens to optimize sharpness, color accuracy, and dynamic range. This results in vibrant and detailed macro images with accurate colors and minimal noise. Macro Lighting: Adequate lighting is crucial for macro photography. The iPhone camera incorporates enhanced macro lighting features to ensure well-lit and evenly illuminated macro shots. The camera may utilize the device's built-in flash or adapt to ambient lighting conditions, intelligently adjusting exposure and white balance to provide optimal lighting for close-up subjects. Macro Photography Tips: To maximize the potential of the macro photography function on the iPhone, consider the following tips: a. Stability: Due to the close-proximity to the subject, even the slightest movements can result in blurriness. It's advisable to use a tripod or stabilize your iPhone when capturing macro shots. b. Composition: Pay attention to the composition of your macro shots. Explore different angles, perspectives, and framing options to highlight the unique details and textures of your subject. By the way, this is one of the principals of mindful photography. c. Lighting Control: Experiment with lighting conditions to create different moods and effects in your macro images. Consider using natural light, diffusers, or additional lighting sources to achieve desired results. d. Manual Adjustments: The iPhone may provide manual controls or settings for macro photography. Explore these options to fine-tune exposure, focus, and other parameters for optimal results. In summary, the macro photography function on the iPhone empowers users to capture incredible close-up shots with exceptional detail and clarity. With a dedicated macro lens, advanced autofocus, image processing capabilities, and optimized lighting, the iPhone enables users to explore and document the fascinating world of tiny subjects with ease and creativity. PS: In full disclosure, much of this article was written by ChatGPT. I am undecided whether this is a good thing or not. In August 2022, we visited Glacier National Park in Montana, one of the most scenic places in the United States. The park is open to the general public from late July to early September, other times it is covered in snow. The Going-to-the-Sun Road through the park is snow-covered until late July. We venture to the Canadian section of the park (Waterton) was cold and snow fell shortly after we left, in early September. In the park, you can hike (all levels), bike, kayak and take boat rides. We saw grizzlies and black bears, and mountain goats, and one moose from far away. The hiking was phenomenal, yet I wish I visited the park when I was much younger and in better shape. We saw Glaciers from a distance, there are not many left. Of the 120+ glaciers in the early part of the 1900s, there are only 23 left, and they are expected to be gone by 2034. The sunsets were amazing, as were the various park lodges. The Milky Way was easily visible. While taking photos of the Milky Way at 2am, I could hear the growls of hungry grizzly bears, reminding us we are the visitors to their land. Note the Bear Spray on my backpack below. If you plan to visit the park, planning and reservations need to be made a year in advance. For photography,
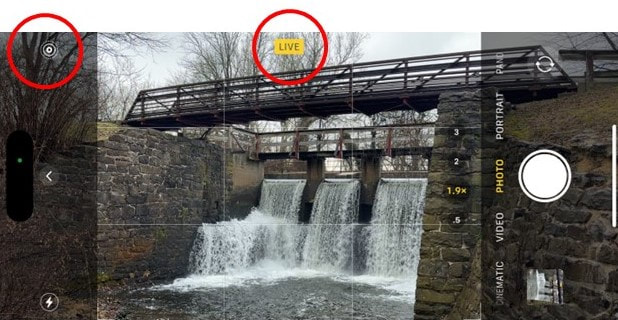
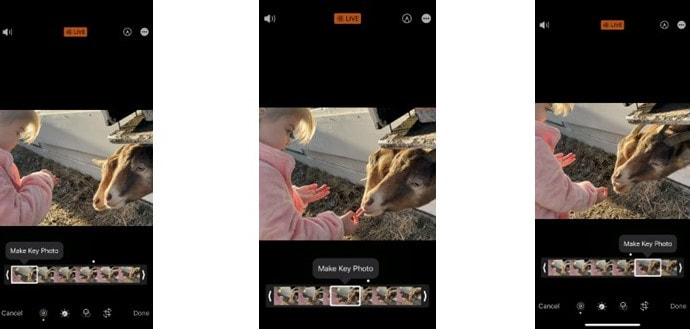
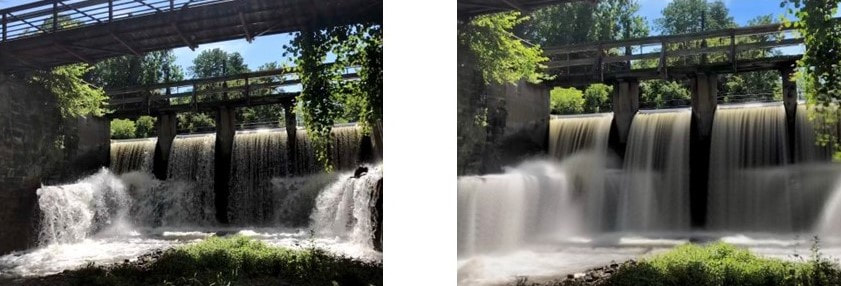
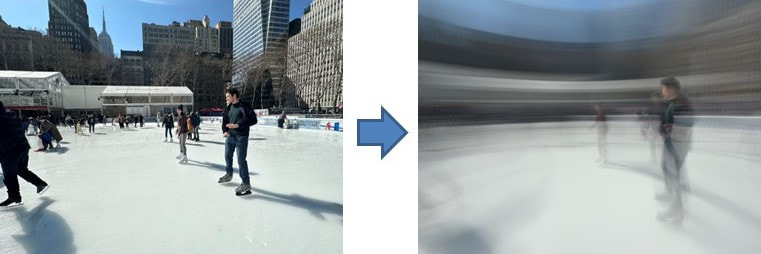
Hiking with heavy equipment is difficult, so I recommend carrying lighter camera equipment. I bought a lightweight Lumix DC-GX9 for the trip and used my iPhone 11, since our intent was mostly hiking. And now we are planning our next National Park trip for 2024. Apple iPhones have long since provided the capability to begin taking photos, when the camera app is on, even before you depress the shutter button. When this feature first appeared, with the iPhone 6, I could not see the value of this creepy feature. However, with new functions added to Live, I realize this is a powerful and useful feature. When "Live" is on (as in the photo above), the feature retains 1.5 seconds of pictures (or about 6 individual photos) before and after the shutter is depressed. When you view a Live photo, it displays like a mini-movie. OK, so how can you use Live to enhance your pictures? First, have you ever taken a group photo, and invariably someone's eyes are closed? With Live on, you actually can choose among the six photos where one will (most likely) have a good photo with everyone's eyes open. This selection is made in the editor. Look for the small bullseye at the bottom of the editor (see photo below). Another advantage to Live can be seen above, where my granddaughter was feeding a goat. Capturig the right moment is easy with Live. For me, the real power is the ability to create a "long exposure", where the iPhone combines all six images to create one dramatic photo. The photo (above) on the left shows the water in stop motion, yet when you selected Long Exposure, you get the picture on the right, with the water flowing. The photo on the right would require a tripod and shutter release with a traditional camera, yet this was achieved with the iPhone hand-held! You can achieve many other creative photos, such as this skater at Bryant Park.
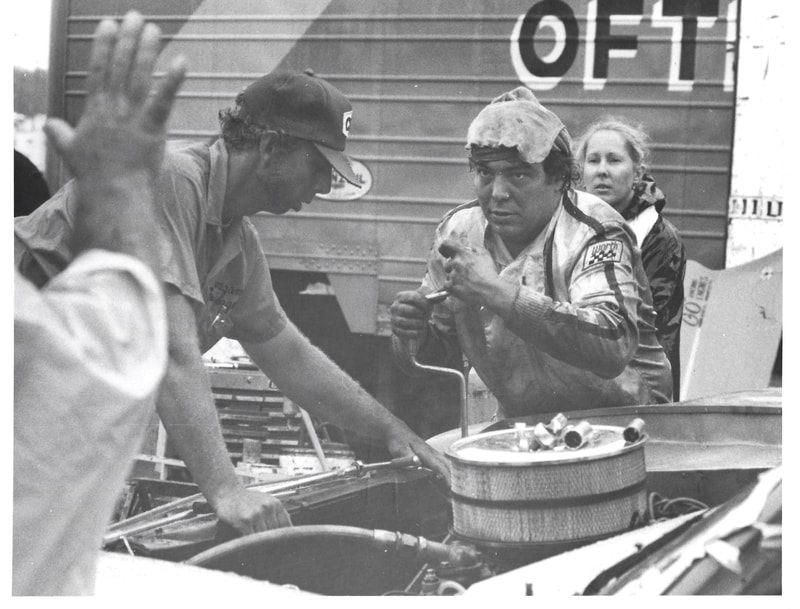
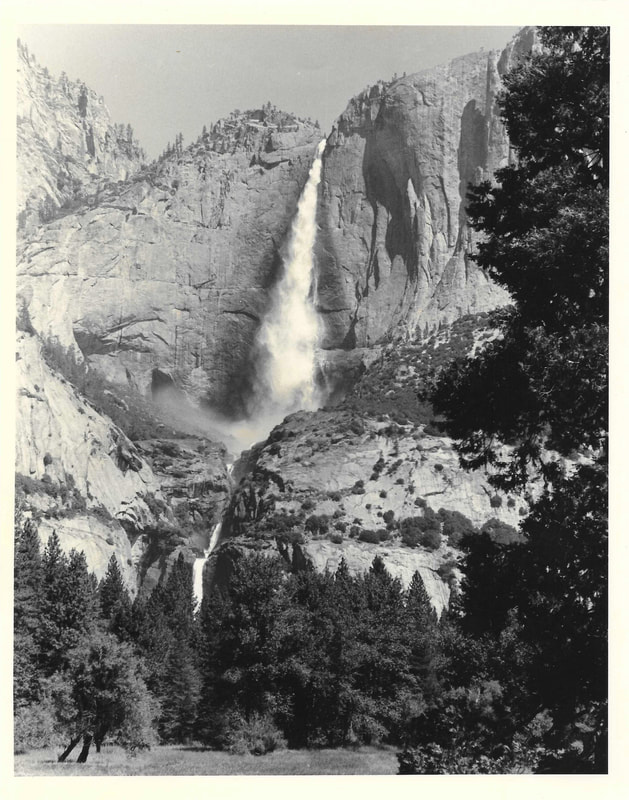
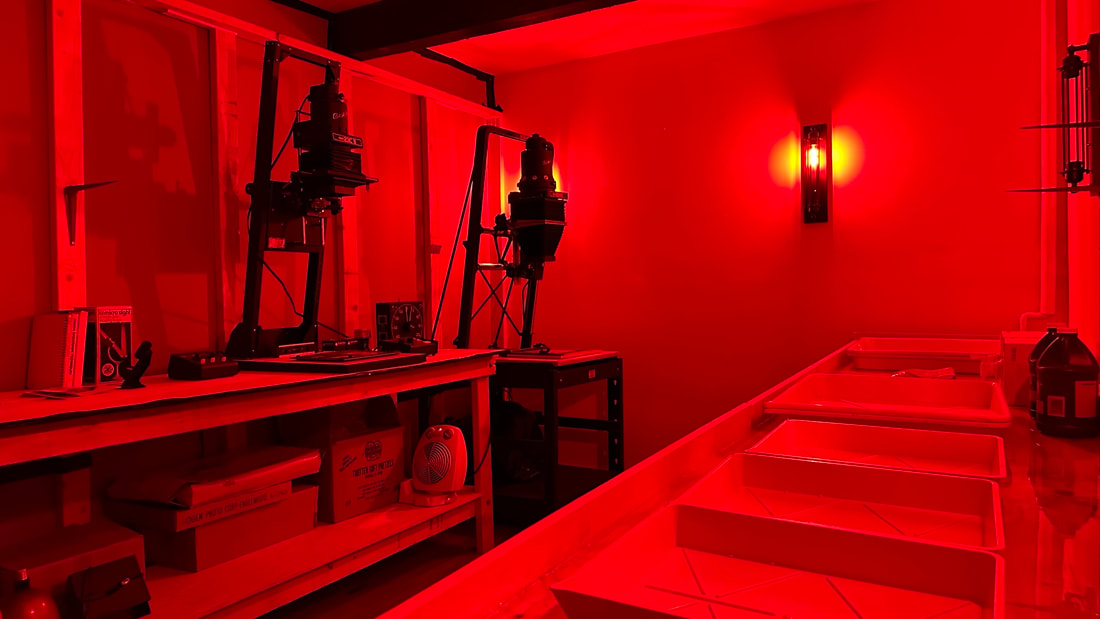
We cover the Live feature including other options in our two-day iPhone Creative Photography classes. Visit our photography class schedule for upcoming iphone classes. Use promo code News05 for a discount, where applicable. What's old is new again, photographic film is making a comeback, and I jumped aboard this trend. Watch this recent news clip from NBC Night News on films' comeback. The last time I processed 35mm film was... 1980, ouch. Fast forward to April 2023, I developed a roll of Kodak Tri-X 35mm film while doing street photography in NYC. I used a Nikon FE that someone gave me, but alas I have yet to print any of the pictures. These photos are from my files, including Yosemite Falls, Greta Weiss, and a mechanic at a Pocono Stockcar race. The darkroom is located at the historic Prallsville Mill in Stockon NJ. Along with 24x7 access to a complete darkroom, we offer many benefits for our members including education, loaner cameras, field trips, and more. If you are in the area, contact me for a tour. For more information visit the Bucks County Darkroom Group. We embrace the dark.
As I continue to read Ansel Adams's Autobiography; I wish I could have met the man.
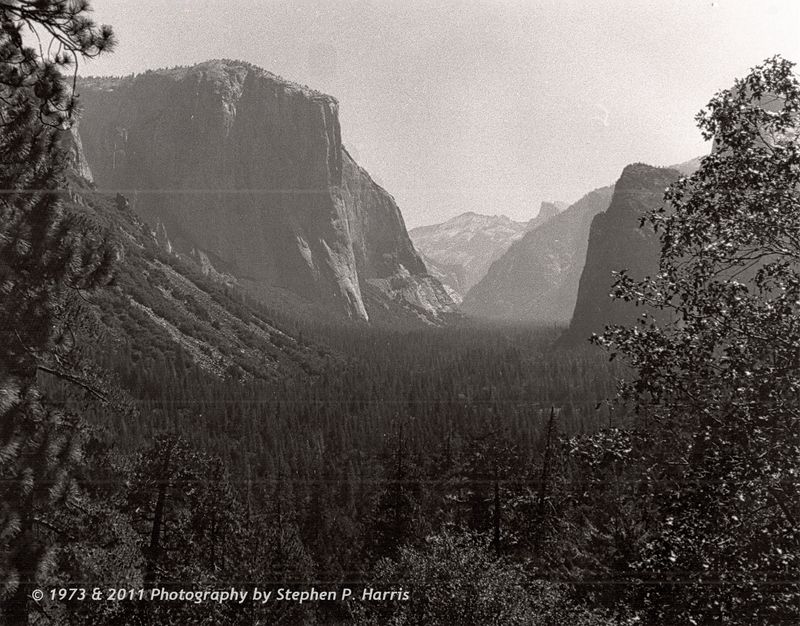
His words continue to resonate strongly with my personal views of photography. For me, photography is conveying onto micro-chip (alas I miss film) that unique image that appears in my minds-eye. My images are often of interesting angles or lighting, rather then a depiction of a scene. This, in my view, is the beauty and power of photography. Gather five photographers to a location and the outcome will be five different unique perspectives. I see this occur in my photography workshops. It's amazing how we see things differently. With photography; I believe that it is the eye and mind - not the equipment that make the difference. Ansel wrote: "If I don't see an image in terms of the subject and it's creative potential, I no longer contest my instincts. I am certain that another photographer's eye might perceive wonders at the scene that evaded me." I enjoy exploring the world with other photographers, often my students. Observing the images through their minds-eye. Their view of the same subject is different than my own. Not better - not worse - just different, Exactly as Ansel himself commented. Exactly as it should be. I am currently reading the Ansel Adams Autobiography and found the following quote resonates strongly my photography mantra: "I never know in advance precisely what I will photograph. I go out into the world and hope I will come across something that imperatively interests me." Likewise; my images are not planned. I'll pick a destination yet have no idea what I will encounter. This not-knowing mindset drives my photographic passions. Adams book has inspired me to do more black & white photography, as I did with film many years ago. With Ansel Adams in mind, with a tip of the lens cap, this is an image taken at Yosemite National Park in 1973 - in my early days!
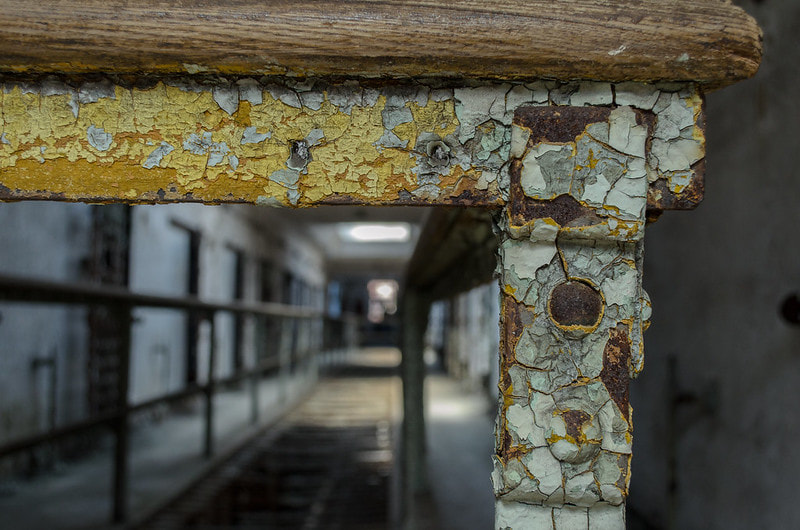
Click to view all of my 1973 Yosemite National Park Images. Do you love decay? Old buildings, rust & dust? Toss in some history and you have the Eastern State Penitentiary in Philadelphia. Home briefly to Al Capone and Willie Sutton, ESP was closed down in 1971 and left to decay. It is this decay that is a powerful lure for creative photographers. Walk down the long cell block hallways and explore the various cells. Some still contain old desks, chairs, a barber chair and prisoner belongings. Examine the bricks and locks close up for their textures. Try taking a long exposure with a friend walking through the image - ghostly! And then explore the exterior in the setting sun, to capture the golden light on the tall imposing rock walls. Imposing, yet not escape proof!
For this location, I strongly recommend a 10-12mm wide angle lens. A telephoto is a nice addition for dramatic affects along the long cell block hall ways. Most of the interior is dark, lite by skylights and breaks in the roof. A tripod is a must (small extra fee). And be sure to recharge your camera battery (and carry a spare) and an extra SD card. View my images of the Eastern State Penitentiary on Flickr and add the Eastern State Penn. to your photography destination list. |
Categories
All
|
|
© 2024 River Town Creative, LLC - /dba Photography by Stephen Harris - All Rights Reserved
|

